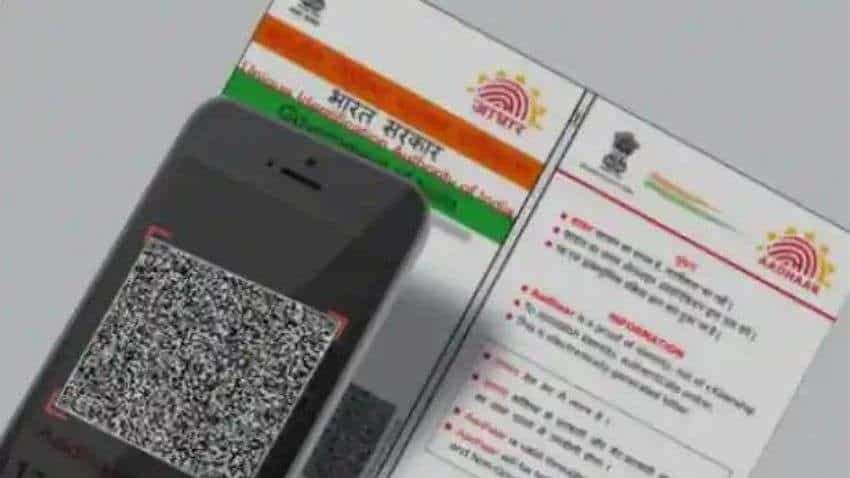
m-Aadhaar App: Know the benefits and STEPS to create a profile on m-Aadhaar - FULL HOW TO PROCESS EXPLAINED in simple steps
m-Aadhaar is more than Aadhaar card in a wallet and can be used anywhere anytime within India. The m-Aadhaar profile is accepted as a valid ID proof by Airports and Railways while residents can also use the features in the app to share their eKYC or QR code with service providers who sought Aadhaar verification of their customers before providing Aadhaar services.

m-Aadhaar is more than Aadhaar card in a wallet and can be used anywhere anytime within India. The m-Aadhaar profile is accepted as a valid ID proof by Airports and Railways while residents can also use the features in the app to share their eKYC or QR code with service providers who sought Aadhaar verification of their customers before providing Aadhaar services.
There are several benefits of using m-Aadhaar, some of them are mentioned below:
See Zee Business Live TV Streaming Below:
1. Get Aadhaar by downloading or ordering reprint of Aadhaar or by retrieving lost or forgotten Aadhaar.
2. View/Show Aadhaar in offline mode, particularly when you are required to show ID proof.
3. Update Address in Aadhaar via document or without document proof.
4. Keep/Manage Aadhaar of family members(up to 5 members) in one mobile.
5. Share Paperless eKYC or QR code to service providing agencies.
6. Secure Aadhaar by Locking Aadhaar or Biometrics.
7. Generate or retrieve VID which user can use in the place of Aadhaar to avail Aadhaar services (for those who have locked their Aadhaar or do not wish to share their Aadhaar).
8. Use Aadhaar SMS services in offline mode.
9. Get Update history and Authentication records.
10. Book Appointment to visit Aadhaar Seva Kendra.
How can you create profile on m-Aadhaar App?
Only someone with an Aadhaar linked to a registered mobile number can create Aadhaar profile in the m-Aadhaar App. You can register your profile in an App installed in any smartphone. However, the OTP will be sent to only the registered mobile.
Here are the steps:
Step 1: Launch the app.
Step 2: Tap on the Register Aadhaar tab on the top of main dashboard.
Step 3: Create a 4 digit Pin/Password (memorize this password, as it will be required to access profile).
Step 4: Provide Valid Aadhaar and enter valid Captcha.
Step 5: Enter Valid OTP and submit.
Step 6: The profile should get registered and the registered tab would now display the registered Aadhaar Name.
Step 7: Tap on My Aadhaar tab on the bottom menu.
Step 8: Enter 4-digit Pin/Password and My Aadhaar Dashboard will appear.
Get Latest Business News, Stock Market Updates and Videos; Check your tax outgo through Income Tax Calculator and save money through our Personal Finance coverage. Check Business Breaking News Live on Zee Business Twitter and Facebook. Subscribe on YouTube.
RECOMMENDED STORIES

LIC Saral Pension Plan: How to get Rs 64,000 annual pension on Rs 10 lakh one-time investment in this annuity scheme that everyone is talking about

Gratuity Calculation: What will be your gratuity on Rs 45,000 last-drawn basic salary for 6 years & 9 months of service?

Rs 1,500 Monthly SIP for 20 Years vs Rs 15,000 Monthly SIP for 5 Years: Know which one can give you higher returns in long term

Income Tax Calculations: What will be your tax liability if your salary is Rs 8.25 lakh, Rs 14.50 lakh, Rs 20.75 lakh, or Rs 26.10 lakh? See calculations

8th Pay Commission Pension Calculations: Can basic pension be more than Rs 2.75 lakh in new Pay Commission? See how it may be possible

SBI Revamped Gold Deposit Scheme: Do you keep your gold in bank locker? You can also earn interest on it through this SBI scheme

Monthly Pension Calculations: Is your basic pension Rs 26,000, Rs 38,000, or Rs 47,000? Know what can be your total pension as per latest DR rates
04:16 PM IST


 UIDAI Aadhaar Latest News: Enhanced security! mAadhaar app and 4-digit password - Know all here
 No need for physical Aadhaar card at Indian Railways establishments, just use your phone!
 UIDAI launches mobile app "mAadhaar"; 5 key features explained